I was commissioned to make an artwork for Surreal Solihull, a public art project with Solihull Council in collaboration with public art consultant/curator Ruth Millington.
This is a bit about where I got my inspiration from as well as details of the brief and the exhibition.
The Brief
The artist’s brief was create new work in response to the theme of ‘Surreal’; to celebrate Solihull’s history of Surrealism, a 20th century cultural movement that challenged reality by exploring the unconscious mind and dreams.
Solihull was once home to one of Surrealism’s leading members, Emmy Bridgwater (1906 – 1999). During her successful career, she drew, painted and collaged strange, dreamlike landscapes of her mind. Birds, butterflies, mythological women, and wide eyes populate her symbolic pictures in which irrational images are juxtaposed. This same imagery can be found in her poetry, which she published in Surrealist magazines during her lifetime. She was also a proponent of automatic drawing.
Surrealism
Surrealism was a cultural and intellectual movement that flourished across Europe in the late 1910s and early 1920s. Founded in 1924 by the poet André Breton who defined Surrealism as:
“pure psychic automatism by which it is intended to express, either verbally or in writing, the true function of thought.”
Surrealism reacted against the Enlightenment—the influential 18th-century intellectual movement that championed reason and individualism. Instead, Surrealism’s goal was to liberate thought, language, and human experience from the oppressive boundaries of rationalism and for artist, writers, poets and thinkers to explore the irrational, unconscious mind.
Having studied the psychoanalytical writings of Sigmund Freud, Breton was particularly interested in the idea that the unconscious mind—which produced dreams—was the source of artistic creativity; this became a key theme of many Surrealist artworks, writings and performances.
Contemporary artists continue to take inspiration from this radical art movement.
Read more about Surrealism.
Emmy Bridgwater (1906-1999)
On 11 June 1936, the International Surrealist Exhibition opened in London. Visitors were amazed as Salvador Dalí delivered a lecture while wearing a full deep-sea diving suit. None was more impacted by this dramatic arrival of Surrealism in Britain than a 30-year-old artist and poet: Emma ‘Emmy’ Bridgwater who invoked the Surrealist principle of juxtaposing unusual objects to reveal uncanny narratives; in her paintings and ink drawings viewers are invited into interior worlds, defined by a symbolic language of birds, eggs and organic forms.

She experimented with automatic ink drawing as a means of accessing and expressing her subconscious. Impressed, Breton wrote in the 1940s: “Bridgwater brought a new purity of outlook to British Surrealism, returning to the early days of the movement, to its ‘automatic’ beginnings in France”. He invented her to Paris – to sign a Surrealist manifesto and exhibit her works in a major gallery show.
Read more about Emmy Bridgwater.
My inspiration for When You Come This Way 2025. (Acrylic paint on board).
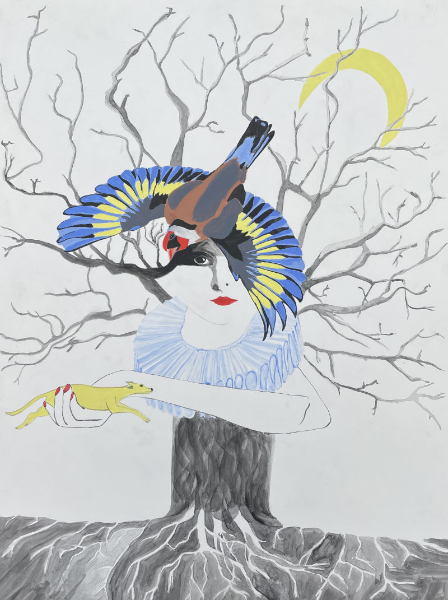
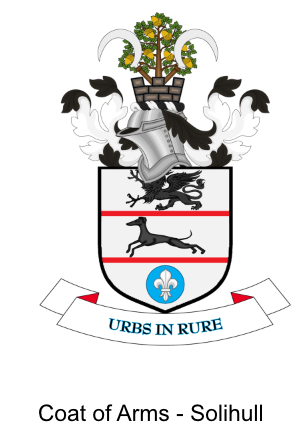
My artwork was inspired by Solihull’s coat of arms, blending symbols that represent both the urban and the rural, while connecting to Bridgwater’s love of birds. The ruff represents Shakespeare’s connection to the area and his plays that were set in rural locations but performed on urban stages: the goldfinch inhabits both gardens and woodlands : the hunting dog is now equally at home as a pet.
The Exhibition
The outdoor exhibition Surreal Solihull will be on display in Solihull town centre until May 31st 2025 and can be accessed at any time.
Find out about all 30 commissioned artists.
The Emmy Bridgwater Estate has endorsed the project and exhibition