Smoke Art
Ever wondered how I make my art using smoke?
I’m very happy to share my process but if you decide to give it a go please please be careful. It is literally ‘playing with fire’!
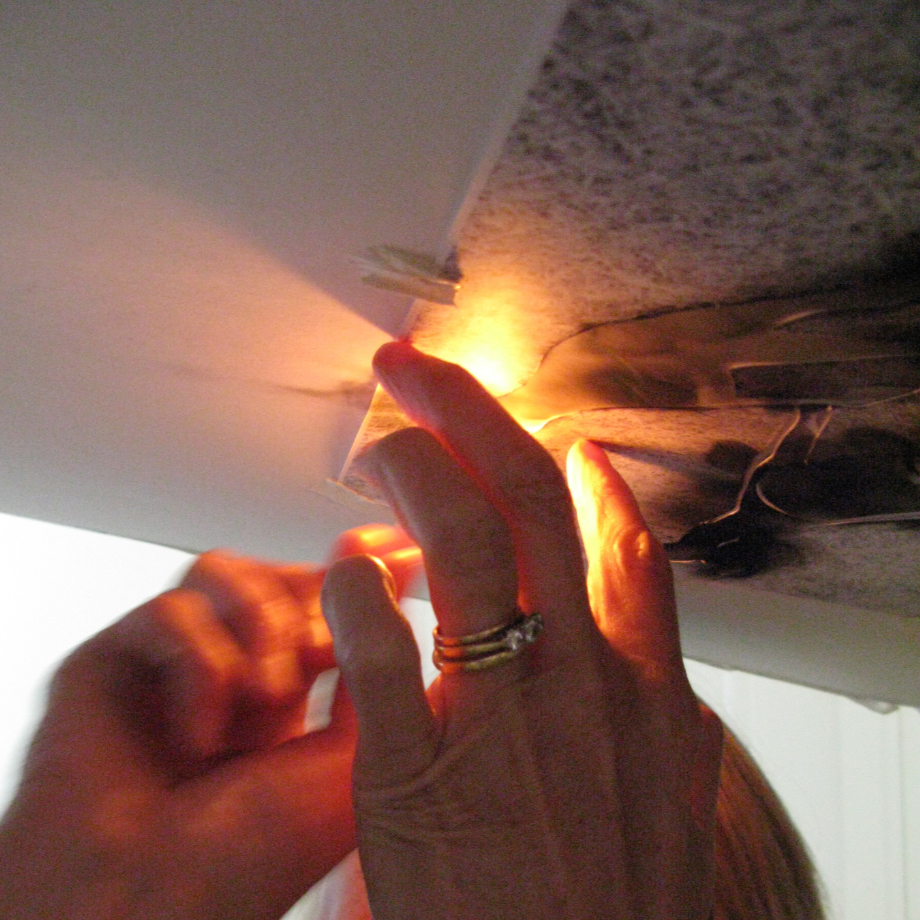
I start by making stencils from cardboard. I attach these to the paper I am using for my image. I have used all sorts of paper but personally I prefer a smooth surface. At last 300 gsm as it has to be able to withstand a bit of heat, fire and flames! I attach the stencil (s) to the paper using either bits of masking tape or white tack. This is really tricky as they have to be sticky enough to hold but not too sticky that the surface of the paper is disturbed when you remove them. Once everything is secure I suspend this horizontally as I need to be able to use a lit candle in an upright position to direct the soot from the candle onto the paper. The next difficult bit is balancing getting the flame close enough for long enough without burning either the paper or the stencil. Even with a lot of practice this can sometimes go very wrong. I always have a fire blanket and extinguisher by my side. I have sometimes had to use the fire blanket but so far not the extinguisher. The stencils are stuck on fairly loosely so that smoke can waft under them to create the soft ephemeral look at the edges. When I am finished I turn the whole thing over and carefully remove the stencils. The heat from the candle is enough to warp them (I guess the paper dries out) so I can only use them once. The soot then has to be fixed using a fixer spray in the same way you would do for pastels or charcoal drawings. If I want to add more layers I need to start the process again.
I love making this art, there is an element of serendipity involved which always makes it exciting to see the finished piece.
Let me know if you have any questions